Posted inFashion
4 Ways To DIY Candy Nails
They’re almost good enough to eat!
SHARE
They’re almost good enough to eat!


2 of 5
TOOTY FRUITY
Juicy colours encrusted with texture you’ll want to skin your teeth into.
Technique: Paint your nails a solid colour. Wait till it’s dry and put on a top coat and sprinkle the beads while the top coat is still wet. after the top coat dries, put another one on to seal the design.

3 of 5
BLUE MARBLE
Electric blue is always a winner, especially with a cool 3D shine.
Technique: Start with a white base and keep layering different shades of blue. We recommend at least three shades, from light to dark. Finish off with a sparkly top coat to create the shine.

4 of 5
CANDY CHROME
Metallic nails in ripe and rich colours are fall’s statement markers.
Technique: Paint your base in a strong dark colour and use magic mirror powder when they’re partially dry to transfer your nails into gleaming reflective lights.

5 of 5
SNAP CRACKLE AND SHINE
These cracked mirror nails are a girly girl’s latest seasonal talking point.
Technique: Paint your nails any colour you chose to. Then, using a nail foil adhesive, paste foil paper bits on your nails and seal it with a clear top coat.
More From Fashion

Posted inFashion
13 local swimwear brands that you should support
SHARE
We’re not ready to let go of summer season

Posted inFashion
15 Valentine’s Day inspired bling your boyfriend should buy you this year
SHARE
…Take a hint

Posted inCosmo, Fashion
Here’s what you missed from our ~glam~ Cosmo x Puma event
SHARE
Did we nail it or did we nail it?
MORE FROM AROUND THE WEB

Posted inFashion
These Are The UAE-Based Brands To Add To Your Rotation In 2026
SHARE
*Adds to cart*👗
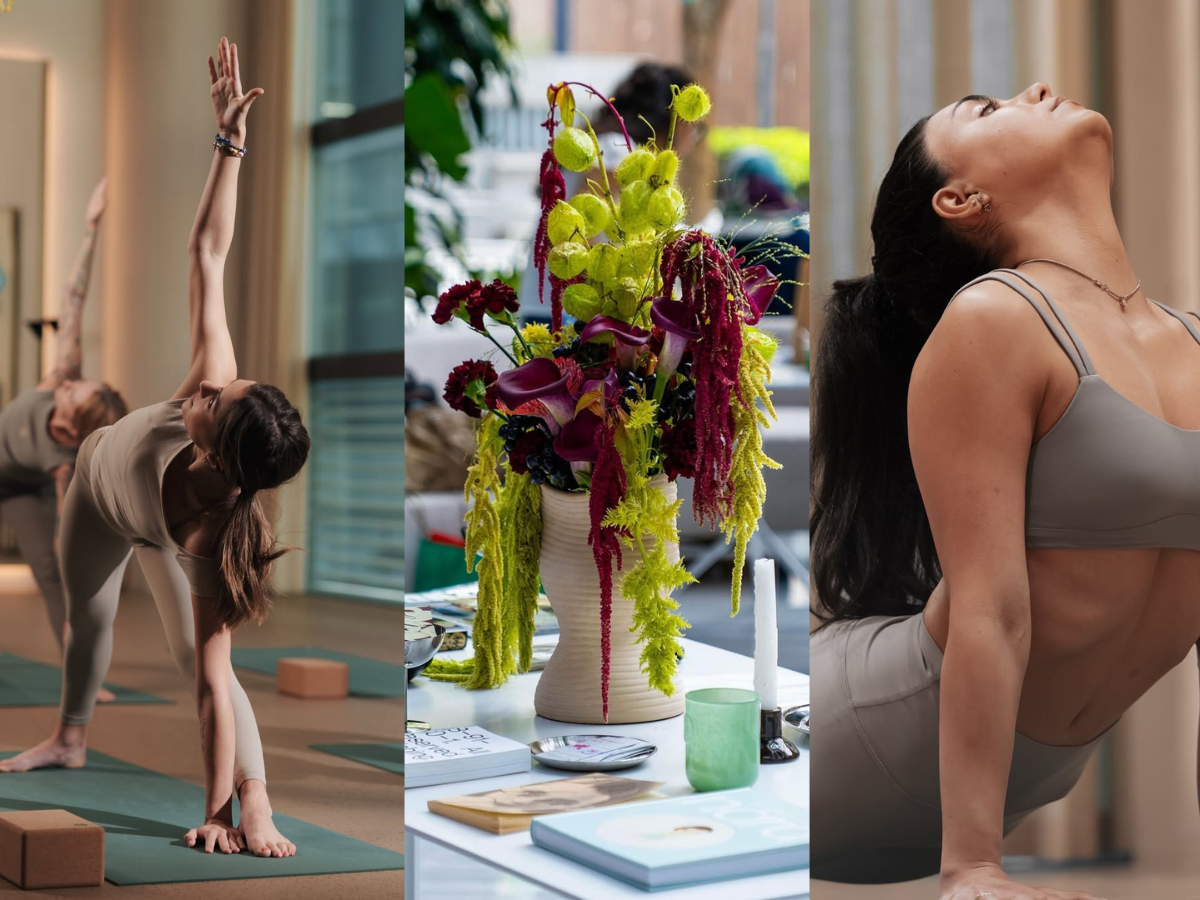
Posted inLife
What All The Cool Girls Are Doing This Wellness Week
SHARE
A break for your mind, body, and soul 🧘♀️

Posted inCelebs
K-OSMOPOLITAN: Mark Lee Is Officially In His CEO Era – Here’s Everything We Know So Far
SHARE
From idol to CEO ✨


Posted inCosmo
Consider Your June 2026 Calendar Officially Sorted
SHARE
Sun’s out, plans are locked. You’re most social month stars here.

Posted inCelebs
Obsessed With Pamala Serena’s Style? Here’s Where To Shop Her Looks
SHARE
Time to add to cart 🛒

Posted inHealth & Fitness
Neuroplasticity 101 – Everything YNTK To ‘Rewire’ Your Brain
SHARE
You can literally change your mind — and it starts today!
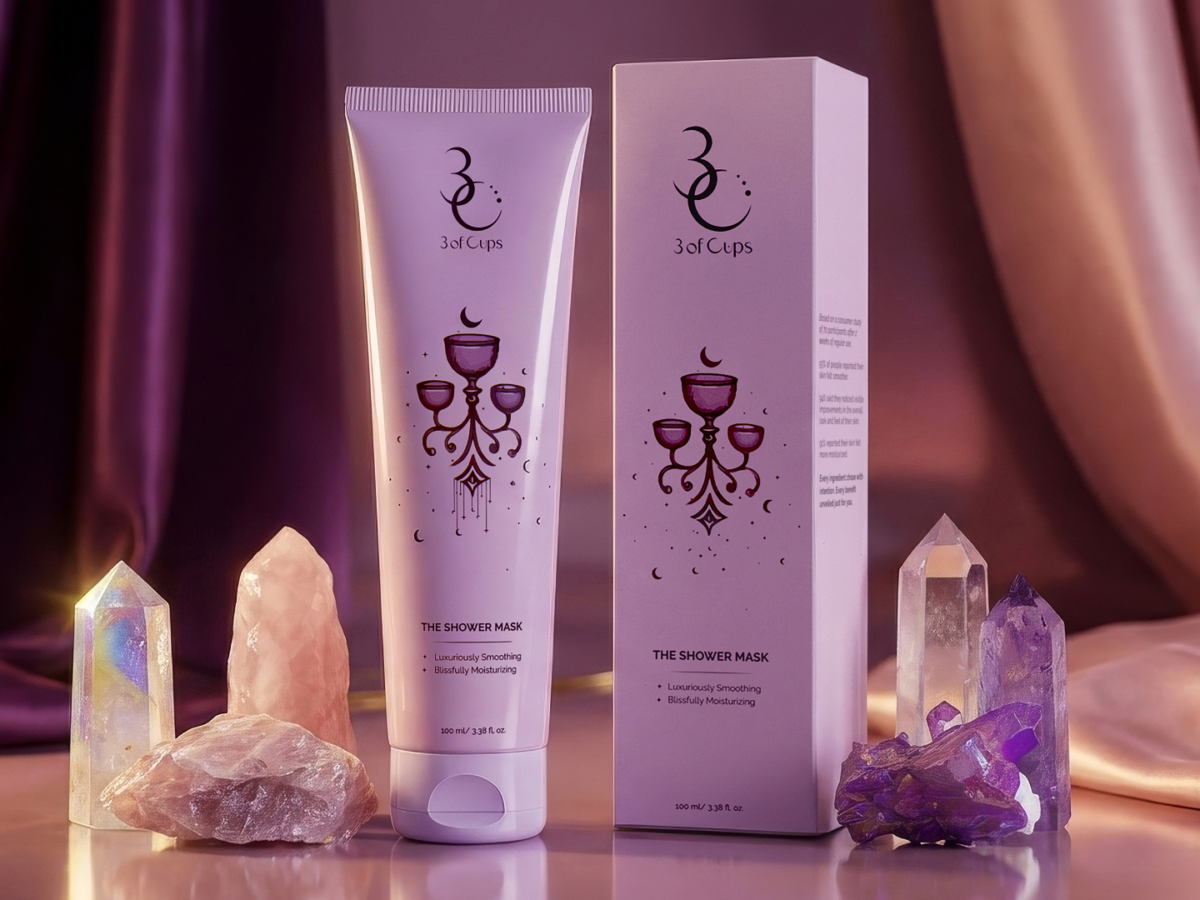
Posted inBeauty
3 of Cups: The Beauty Brand I Felt Called To Create
SHARE
Our very own beauty editor,Lauren O’Connell, launches her beauty brand